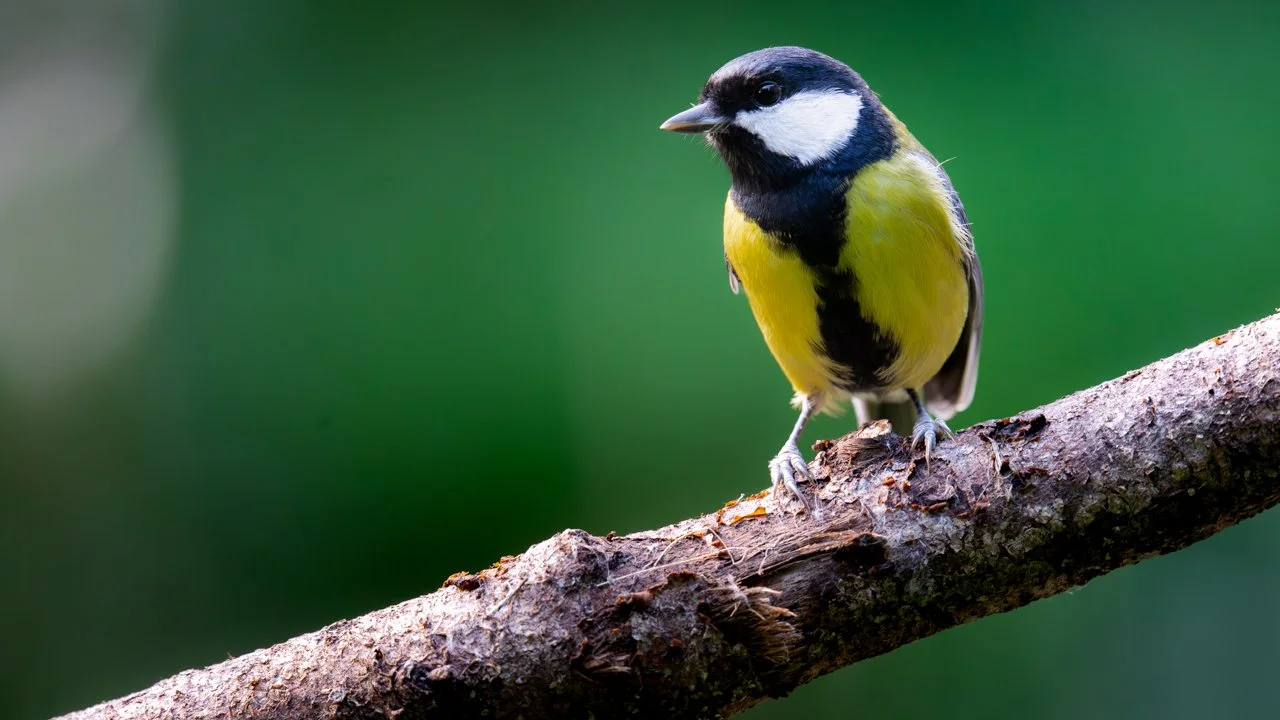
How to Get Sharp Photos of Small Birds (3 Simple Wildlife Photography Tips)
Photographing small birds can be incredibly rewarding — but it can also be one of the most frustrating challenges in wildlife photography.
They’re tiny, constantly moving, and often surrounded by branches, leaves, and other distractions that can confuse your camera’s autofocus.
The good news is that with a few simple techniques you can dramatically improve your chances of getting sharp photos.
Here are three key tips that will help you capture crisp images of small birds.
1. Use the Right Autofocus Mode
The first step to getting sharp bird photos is choosing the correct autofocus mode.
Most cameras offer several autofocus options, but the right choice depends on your surroundings.
A helpful question to ask yourself is:
“What else might my camera try to focus on besides the bird?”
For example:
In a bird hide with clear perches, there’s very little for your camera to get confused by.
But if you’re photographing a bird in a tree full of branches and leaves, your camera may try to focus on those instead.
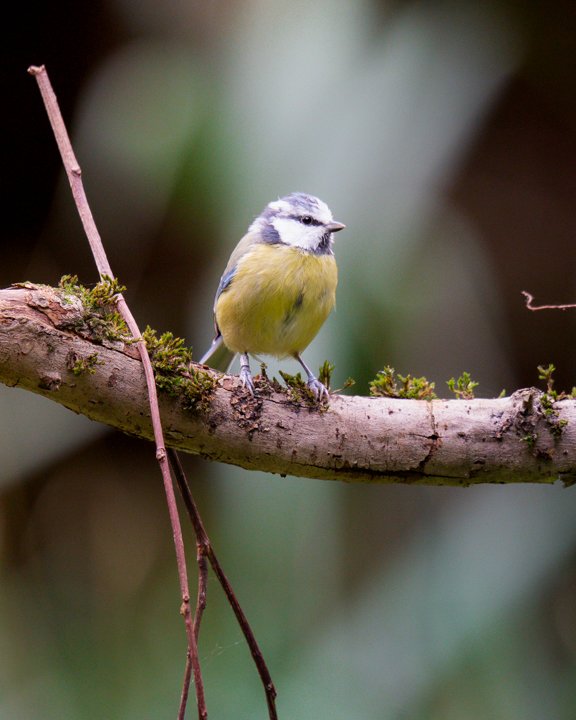
In situations where there are lots of distractions, spot autofocus can make a huge difference.
Spot focus allows you to select a very small focus point, helping you isolate the bird rather than letting the camera choose something in the background or foreground.
This is especially useful when photographing birds sitting within dense foliage.
Bonus Tip: Focus, Then Recompose
Once you’ve locked focus on the bird, you can often switch to manual focus (many photographers assign this to a custom button).
This allows you to recompose your shot without the camera trying to refocus again.
That means you can easily adjust your framing using techniques like:
The rule of thirds
Vertical compositions
Creative framing
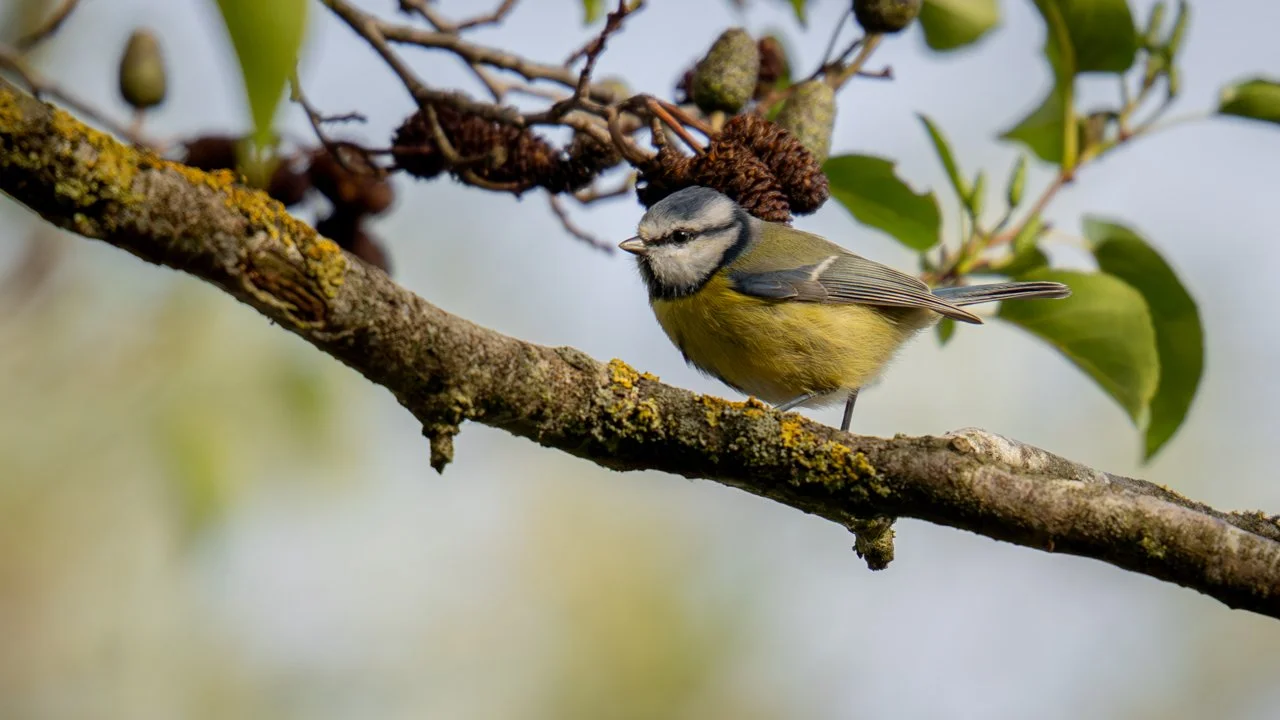
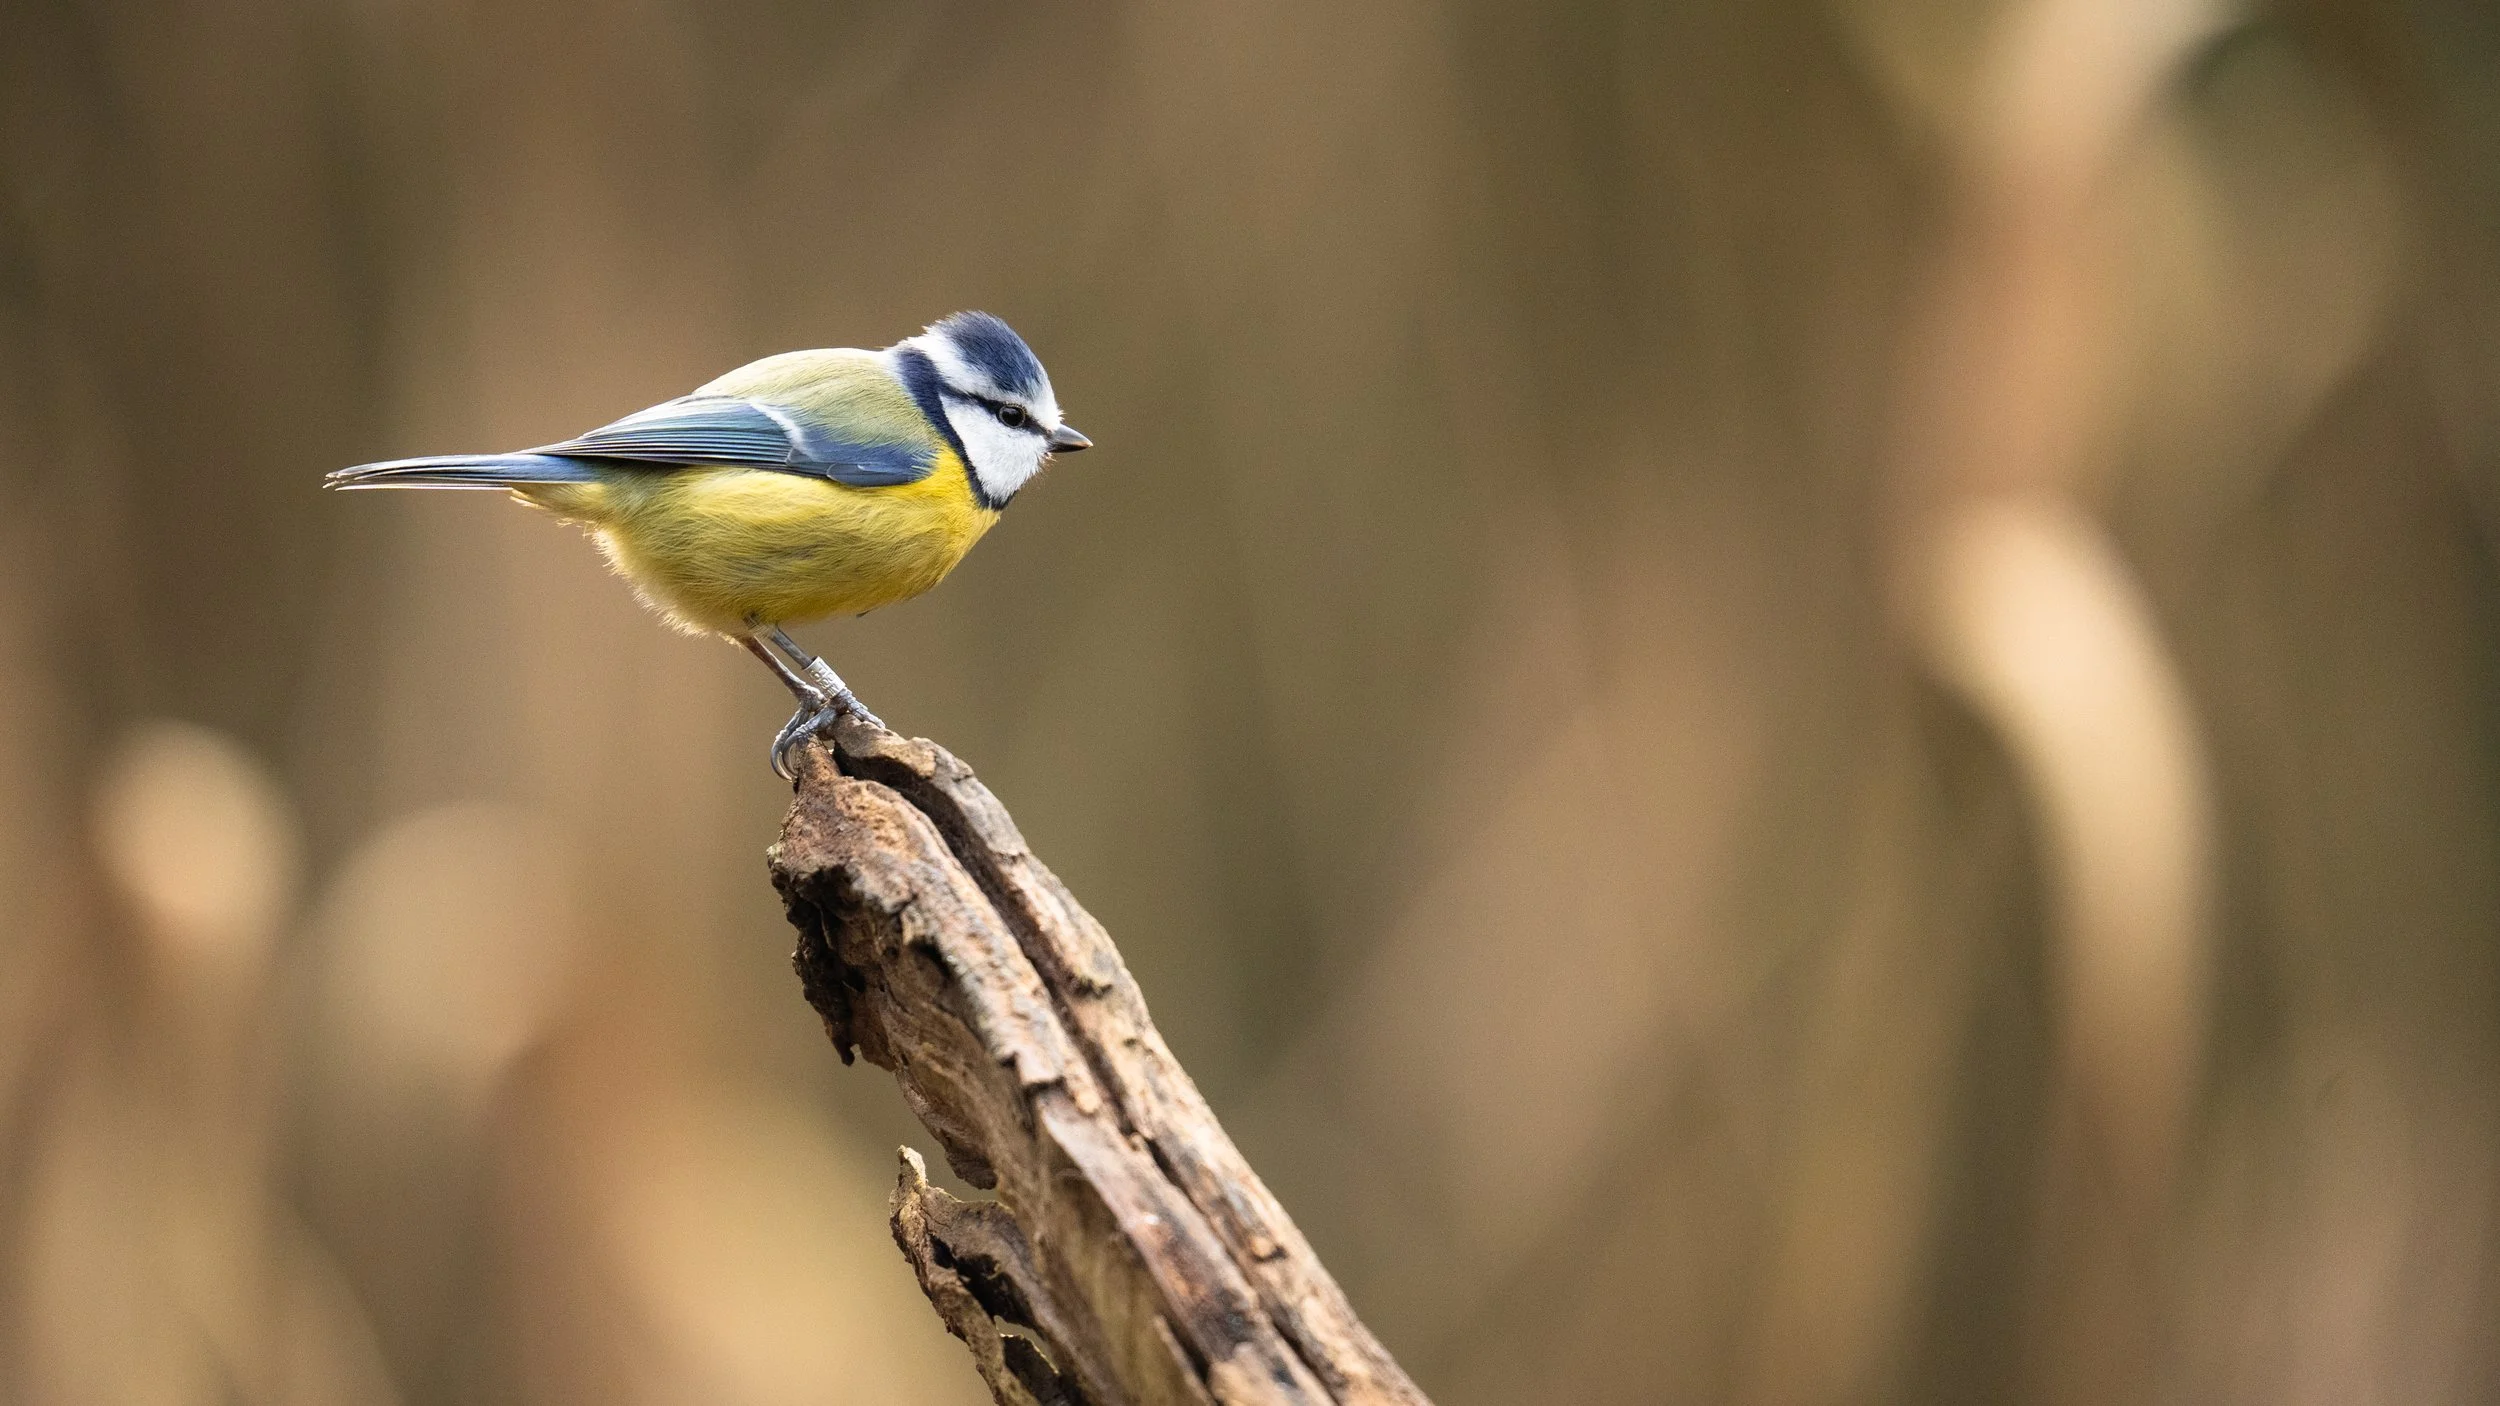
2. Prefocus on Likely Perches
If you’ve ever spent time watching birds at a feeder, you’ll notice something interesting:
Birds often land on the same branches repeatedly.
You can use this behaviour to your advantage.
Instead of trying to react when the bird arrives, set up your shot in advance.
This means:
Choosing your composition
Dialling in your camera settings
Prefocusing on the perch
Then, when the bird lands, all you need to worry about is timing the shot.
Even if the bird doesn’t land exactly where you expected, your focus will already be close, meaning only a small adjustment is needed.
Avoid Photographing the Feeder
When photographing birds at feeders, it can be tempting to shoot the bird directly on the feeder itself.
Unfortunately, bird feeders are usually not very photogenic.
A much better approach is to focus on natural perches near the feeder.
Birds often land there briefly before or after feeding, giving you a much more natural-looking photograph.
3. Start Wide When You Only Have One Chance
Sometimes you’ll encounter a bird unexpectedly while out walking.
In those moments, you might only have a few seconds to capture the shot.
A useful technique is to start by shooting slightly wider than you need.
This makes it easier to find and track the bird in your frame.
Once the bird is centred in your viewfinder, you can slowly zoom in while keeping it in the middle of the frame.
As long as you stay reasonably stable, the bird should remain centred as you zoom.
From there, you can refine your composition and take your shot.
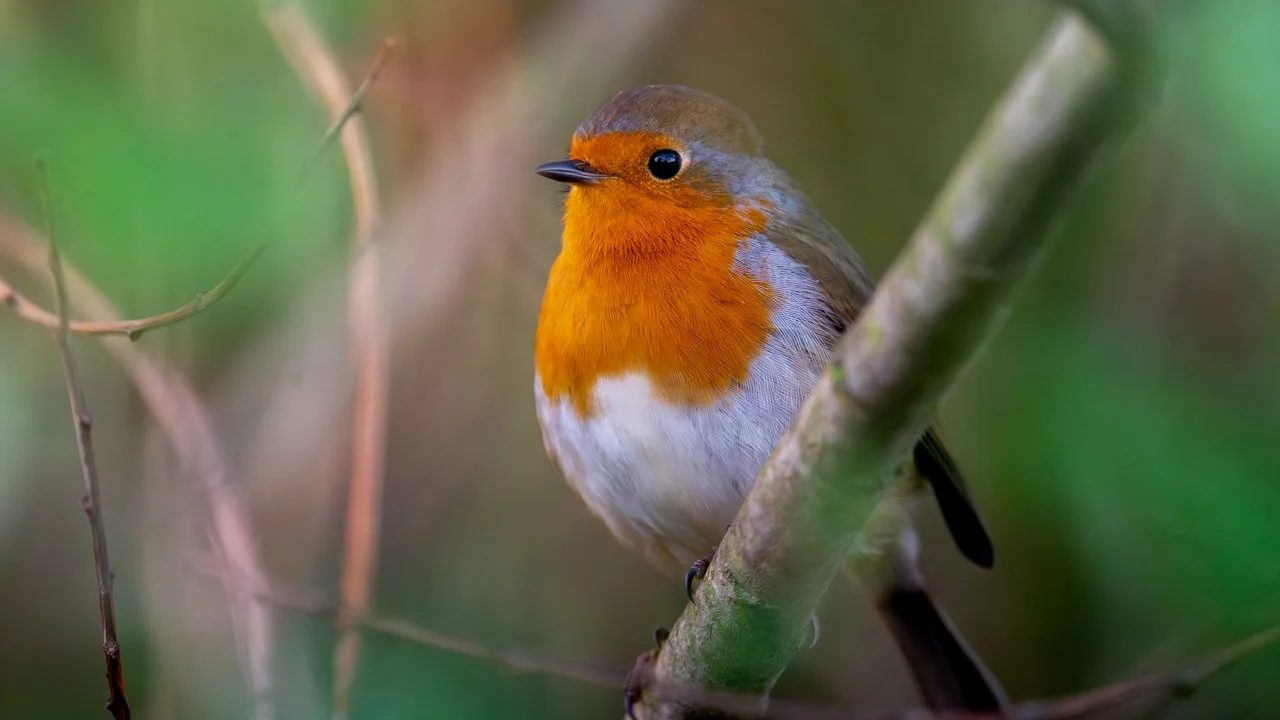
4. Timing Makes a Huge Difference
Even when a bird is sitting still, it’s constantly making small movements.
These subtle changes can dramatically affect your photo.
For example, you might capture the bird:
Looking away from the camera
Looking upwards
Blinking
Calling or singing
Raising its crest
Each of these behaviours creates a completely different photograph.
Because these moments happen quickly, the best strategy is simple:
Take lots of photos.
Use your camera’s high frame rate (burst mode) so you can capture multiple frames in quick succession.
Later, you can review the images and choose the ones where the bird’s posture, eye position, and behaviour look best.
One of the biggest advantages of digital photography is that large memory cards allow you to take hundreds of images and select only the best ones afterwards.
Final Thoughts
Getting sharp photos of small birds isn’t just about camera gear — it’s about understanding behaviour and using the right techniques.
To recap:
Use spot autofocus to avoid focusing on branches and leaves
Prefocus on likely perches to give yourself more time
Start shooting wider if you only have one chance
Use burst mode to capture the perfect moment
With a bit of practice and patience, these simple techniques can dramatically improve your small bird photography.